Since we're coming back from a break, it's been a bit slow. The only card I was assigned to and finished was texturing the circular archway. This archway is an alternate archway compared to last week's gradient archway. The circular archway has a gradient as well but there isn't a broken version like the other archway. This is because this archway is less prominent and leads to the final room. The reference I used is:
I tried my best to follow the reference as close as possible but it is a bit difficult due to the lack of a proper light source. From the looks of it, there is a dark to light gradient going up the sides of the arch. There are also inner pillars that seem to be transparent and emissive. The circle itself seems to have three layers: a non-emissive material outer layer, a detailed emissive inner layer, and a ring of light inside of that. However, the model only has two layers for the ring, thus the outer layer has the same gradient material as the sides and the inner layer has emissive details. Some problems I encountered during texturing has the stencil being dull. I had to copy the layer two or three times to make the emissive brighter. Hopefully, it translates well in Unity.
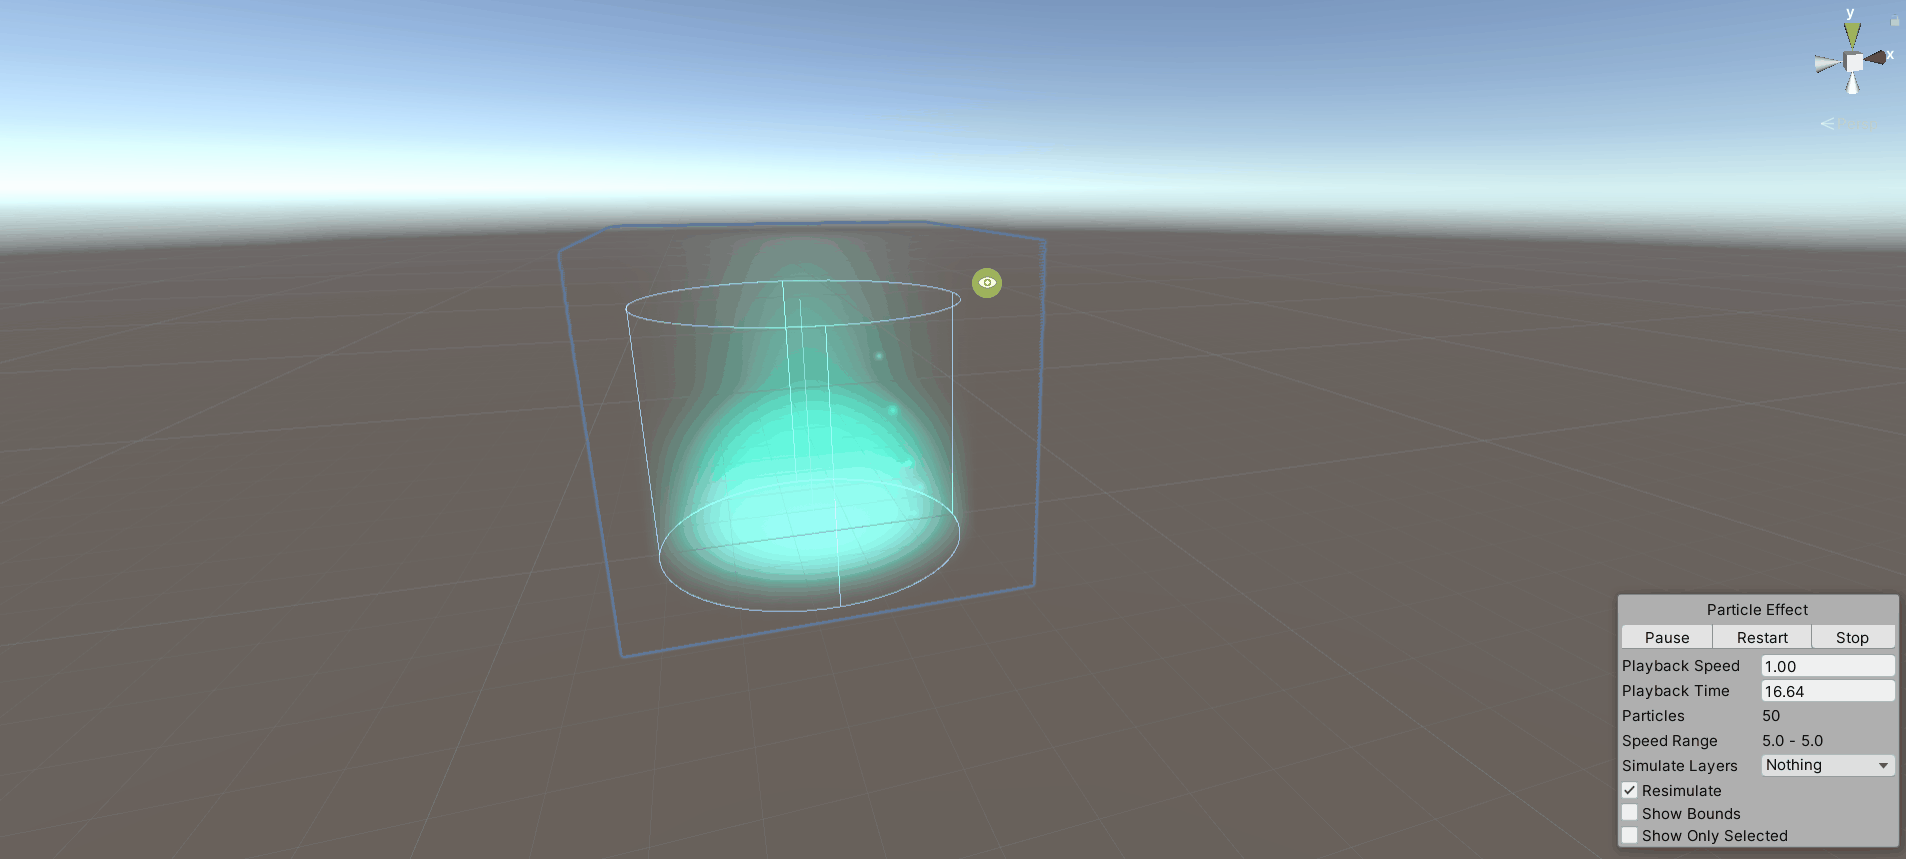
My next textures should be the obelisk that Matthew recently finished and the statue model that Austin is currently working on. There should be two or so more models after that and then we'll be focusing on putting everything into Unity. The next week will be our final week, so until then! Also here's a picture of the Trello board:
Week 6 (Nov. 18)
Longer week means a longer update since last week was shorter. I finished the circular piece, the uplifted floor piece, and the crystal piece that was created by Austin. After that, I textured the rock wall assets that William did. Currently, I am working on the archway models made by Matthew.
The floor and crystal pieces took a bit longer to finish due to UV issues. In particular, the uplifted floor piece's UVs were a bit small, making the alpha and height detail textures blurry in comparison to the other pieces. Austin went back into Maya to upscale the UVs. Once he uploaded the updated Maya files, I could easily add back the textures using Substance Painter's smart materials. Luckily the alpha scaled up with the UVs as well so I didn't have to repaint the alpha. I did redo the height details so they fit better on the new UVs. The crystal textures did not take too long to make. Though unfortunately, my original plan for the crystal textures flopped. As stated last week I wanted to use opacity shaders to make my crystals a bit transparent or opaque. I then could use specular shaders to make it look like materials inside the crystal is what causes it to glow. However, the transparent shaders are a bit intense. The lines of the model pieces intersecting are too obvious and even making the opacity levels slow makes the sides of the crystal seem almost invisible. Thus I gave up on that plan and played with cloud layers and metallic levels instead to make a shiny colorful crystal.


My next assignment was the rock wall. I used a concrete base for the color but the default colors were too cold which Matthew pointed out. I changed the colors to be warmer with a soft shade of red-ish peach. For the crystal parts of the wall, I reused the crystal textures from the previous piece and added more details such as the hammered filter.
What I am currently working on and finishing up is the Archway textures. I made them similar to the shrine textures I did a while back. This was important since a gradient generator was needed. Luckily Substance has a great gradient tool that was a lot easier to use than I thought. I adjusted the colors to make the black-blue top and bottom parts more of a navy blue and the interior arch is now a white-ish color.
 |
Reference
|
 |
| Finished Textures |
The archway textures are the only card I have left in the in-progress list. After finishing the textures for this, the next models I might be working on are the statues or the glowing archway. But that's all I have for now, until next time!
Week 5 (Nov. 8)
This update is for a shorter week since our next meet up is on a holiday. So far we fixed up the previous models and UVs. I mentioned last week that I was working on the circular piece. However, the UVs for that were not completed because there are several other models on the UV sheet. So I went back to the group and Austin added his crystal piece to the UV sheet and reorganized the UVs. Once I got the Maya file, I went in and did the ID and low-poly FBX exports for transferring them over to Substance.
 |
Circular Piece Reference
|
 |
Uplifted Floor Piece Reference
|
With a fresh Substance file with the new FBXs and mesh maps, I first worked on the circular piece. Of course, I saved my progress from last week as a smart material so I can easily reuse them but also I tweaked the materials and added further details.
 |
Circular Piece Texture and Layers
|
 |
UVs
|
Once I finished up those textures, I did the uplifted floor piece next. The UVs for this piece was smaller since it doesn't need to be that detailed. I did my best to replicate the fancy pattern though the side details are a lot hard to do since the UV sheet is too small for those details to be visible.
 |
| Uplifted Floor Piece Textures and Layers |
 |
UVs
|
The next thing and last piece from this group I need to work on is the crystal. I still need a Trello card and references for that from the team but once that's settled I'll start on it. What I do plan to do with the crystal piece is make it a little bit opaque and use specular to make it "glow".
Finally, here is a progress shot of the Trello Board as of now.
 |
Trello Progress
|
Week 4 (Nov. 4)
For this week, I finished up texturing the Shrine model. The textures for this model were split into 4-5 different parts. The upper part of the model (the roof and arch) are in a dark-blue marble material. I used a jade material as a base and added details and grunge maps so it matches the reference picture. The references I used for texturing the shrine's roof and arches are:
The next step is the columns which have a gradient from the dark blue to white to a purple-ish color and finally a lighter green. I used a lot of 3D gradient generators to try and achieve a more seamless look.
Lastly, the shrine interior which I textured in two areas. The outer ring which was a darker purple and the inner center piece which was brighter and more wavy. I couldn't get it exact so I put my own spin to it and tried to replicate the details through another method. I'm still pretty glad it turned out well despite me having troubles with the purple emissions.
The Trello card I finished this week is "As a player, I would like the shrine model with a roof to be textured like the reference images.". Currently I'm in-progress with making textures for the circular floor piece.
 |
Progress
|
My next assignments are to finish the circular piece and then move on to the uplifted floor piece. After I'll be texturing the archway. Until next time!
Week 3 (Oct. 28)
This week I worked on modeling, UV-ing, and texturing a tree asset. This tree asset will be in two of the rooms in our scene, the greenhouse/nature room (the first room) and the statue + key room. The pictures I referenced for the tree are the two below:
Modeling the tree was fairly easier than I expected because our team found a really good tutorial on Youtube. I UV-ed it with the 3D cut and sew tool and moved on to texturing when I got both the model and the UV approved with the modelers.
I ran into some problems between the UV to the texturing phase. The first being the weird shading I had when I imported the model into Substance Painter. Then the second problem being the tree model breaking when I tried to fix the UVs in Maya.
Thankfully Tony helped me out with a tip on the UV via adding an edge loop around the bottom to fix the shading a bit and to fix some of the UVs. I also learned that the model-breaking problem could be fixed by exporting the model to another scene. The reason why it broke is still elusive but some of the theories we came up with include: the size scaling of the scene from centimeters to meters might have caused a break somewhere or the curves did not react properly with the main model (since exporting the model didn't include the curves, it worked in a new scene).
Now that the modeling issue is mainly fixed, I moved onto texturing the tree. From the reference pictures, the model's textures seemed pretty basic; wood material with some height maps for the lines. I did basically that but used two base wood materials, one for a lighter shade and one for a darker shade. Then I had two dirt materials, one using a grunge map and the other a generator. For details, I added bumps or mud spots near the stump and the roots of the tree. I also tried to add moss with color and height detail, but I noticed it looked a bit off so I turned the opacity for that down just so it shows as subtle detail rather than green bumps on a yellow-ish tree.


The three cards I was assigned to and finished for this sprint were: "As a player, I would like a tree base model so that the room may have life in it.", "As a player, I would like UVs for the tree.", and "As a player, I would like a tree textured like the reference images." For the next sprint, I am most likely going to focus more on texturing assets as my team members start finishing up their models and UVs. Until then!
Week 1-2 (Oct. 20)
Our final project is to get into teams of 4-5 and developed a game scene from a selected list of games. Our team decided to work on a scene inspired by the game Destiny 2. We concluded that we would make a lost sector type of game scene with the objective of finding a key and opening a treasure chest. The major theme of this level is a crystallized cave with small pieces of nature tucked within it. Below are reference screenshots that were taken by our lead Matthew:
 |
Reference: Greenhouse/Nature room
|
 |
Reference: Final treasure room
|
 |
| Reference: Entrance/Hallway |
So far our asset list is comprised of:
- Broken and Non-Broken Archway
- Special Circle-like Archway
- Baryon Bough Tree(s)
- Circular Floor piece
- Crystals
- Crystal Mound
- Giant Centerpiece Crystal
- Crystal Walls
- Ceiling Support Crystal
- Lost Sector Chest
- Small props
- Lanterns, Scrolls, Different Types of Pottery, Chalice
- Obelisk
- Statue (human-sized)
- Uplifted Floor Piece
- Well
 |
Some of the assets and the references
|
These assets were chosen to convey our theme of a crystal cave for our lost sector game scene. There's a lot of assets that are crystals and natural elements, specifically trees. We'll also be added a statue and obelisk as well as pottery to hint at civilization, the fact that people have come through here before the player. That is also a good reason why there is a treasure chest here and why the game scene is a "lost sector".
For this sprint, our tasks revolved around concepting, gathering references, and setting up Unity's collab. The two major cards, "As a designer, I would like an annotated map so I may identify key points of the scene." and "As a designer, I would like a blocked out Unity scene to gauge the scope of the project." were assigned to everyone on the team because we all worked together to come up with our concept. The only individual cards assigned this sprint went to Matthew (to set up the backlog and create the asset list) and William (to set up Unity).
 |
Short first sprint
|
Matthew, Austin, and Willam will be the ones on the team with access to Unity's collab. Together they made a blocked out scene in Unity that had the basic layout of our game scene as well as core props and pieces. After I used the screenshot they took of the topdown view of the block-out and annotated it in Photoshop.
 |
Annotated Map
|
From here on out, we'll be going into modeling, texturing, and setting up the scene in Unity. Specifically for the next sprint, we'll be focusing on modeling out the major assets of the first room which is nature-themed. I'm excited to see what we'll come up with and how this final project will go! Ciao for now.